简介
深度学习在实际应用中包括训练和推理两个重要阶段,通常依赖于流行的深度学习框架,如Caffe、TensorFlow、PyTorch等。然而,这些框架的安装和配置往往复杂,在实际部署中可能面临一些挑战。
自从OpenCV 3.3版本起,引入了DNN模块,为用户提供了一种更加简便的方式进行深度学习推理。使用OpenCV的DNN接口,用户可以无需安装额外的依赖,直接在正常安装OpenCV的基础上,使用经过训练的深度学习模型进行推理计算,从而简化了深度学习模型的部署过程。这为开发者提供了更方便、更轻量级的选择,使得在实际应用中更容易集成深度学习技术。
推理环境
当前使用的环境是OpenCV4.7 带dnn模块,YoloV8的推理目前只支持opencv4.7.0及其以上的版本,而目前opencv4.7.0的版本有问题,如果推理CPU不支持AVX2指令集,则需要在net.forward() 前面加上net.enableWinograd(false);来关闭Winograd加速,关于这个问题可以参考这个issue .
模型转换
安装环境:
conda create -n yolov8 python=3.8
activate ylolv8
pip install ultralytics
模型转换:
使用以下命令将YOLO模型从PyTorch导出为ONNX格式,并设置opset为12:
yolo export model=yolov8s.pt format=onnx dynamic=False opset=12
此命令的含义解释如下:
yolo export: 使用YOLO导出功能model=yolov8s.pt: 指定PyTorch模型的路径format=onnx: 导出为ONNX格式dynamic=False: 关闭动态输入opset=12: 设置ONNX模型的opset版本为12
推理代码
1.目标识别
#include "YoloV8Detect.h"
YoloV8Detect::YoloV8Detect()
{
}
bool YoloV8Detect::detect(cv::Mat& cv_src,std::vector<OutputSeg>& output)
{
cv::Mat blob;
output.clear();
int col = cv_src.cols;
int row = cv_src.rows;
cv::Mat net_input_img;
cv::Vec4d params;
LetterBox(cv_src, net_input_img, params, cv::Size(_net_width, _net_height));
cv::dnn::blobFromImage(net_input_img, blob, 1 / 255.0, cv::Size(_net_width, _net_height), cv::Scalar(0, 0, 0), true, false);
_net.setInput(blob);
std::vector<cv::Mat> net_output_img;
_net.forward(net_output_img, _net.getUnconnectedOutLayersNames()); //get outputs
std::vector<int> class_ids;// res-class_id
std::vector<float> confidences;// res-conf
std::vector<cv::Rect> boxes;// res-box
cv::Mat output0 = cv::Mat(cv::Size(net_output_img[0].size[2], net_output_img[0].size[1]), CV_32F, (float*)net_output_img[0].data).t();  //[bs,116,8400]=>[bs,8400,116]
int net_width = output0.cols;
int rows = output0.rows;
float* pdata = (float*)output0.data;
for (int r = 0; r < rows; ++r) {
cv::Mat scores(1, _class_name.size(), CV_32FC1, pdata + 4);
cv::Point class_id_point;
double max_class_socre;
minMaxLoc(scores, 0, &max_class_socre, 0, &class_id_point);
max_class_socre = (float)max_class_socre;
if (max_class_socre >= _class_threshold) {
//rect [x,y,w,h]
float x = (pdata[0] - params[2]) / params[0];
float y = (pdata[1] - params[3]) / params[1];
float w = pdata[2] / params[0];
float h = pdata[3] / params[1];
int left = MAX(int(x - 0.5 * w + 0.5), 0);
int top = MAX(int(y - 0.5 * h + 0.5), 0);
class_ids.push_back(class_id_point.x);
confidences.push_back(max_class_socre);
boxes.push_back(cv::Rect(left, top, int(w + 0.5), int(h + 0.5)));
}
pdata += net_width;//next line
}
//NMS
std::vector<int> nms_result;
cv::dnn::NMSBoxes(boxes, confidences, _class_threshold, _nms_threshold, nms_result);
std::vector<std::vector<float>> temp_mask_proposals;
cv::Rect holeImgRect(0, 0, cv_src.cols, cv_src.rows);
for (int i = 0; i < nms_result.size(); ++i) {
int idx = nms_result[i];
OutputSeg result;
result.id = class_ids[idx];
result.confidence = confidences[idx];
result.box = boxes[idx] & holeImgRect;
output.push_back(result);
}
if (output.size())
return true;
else
return false;
}
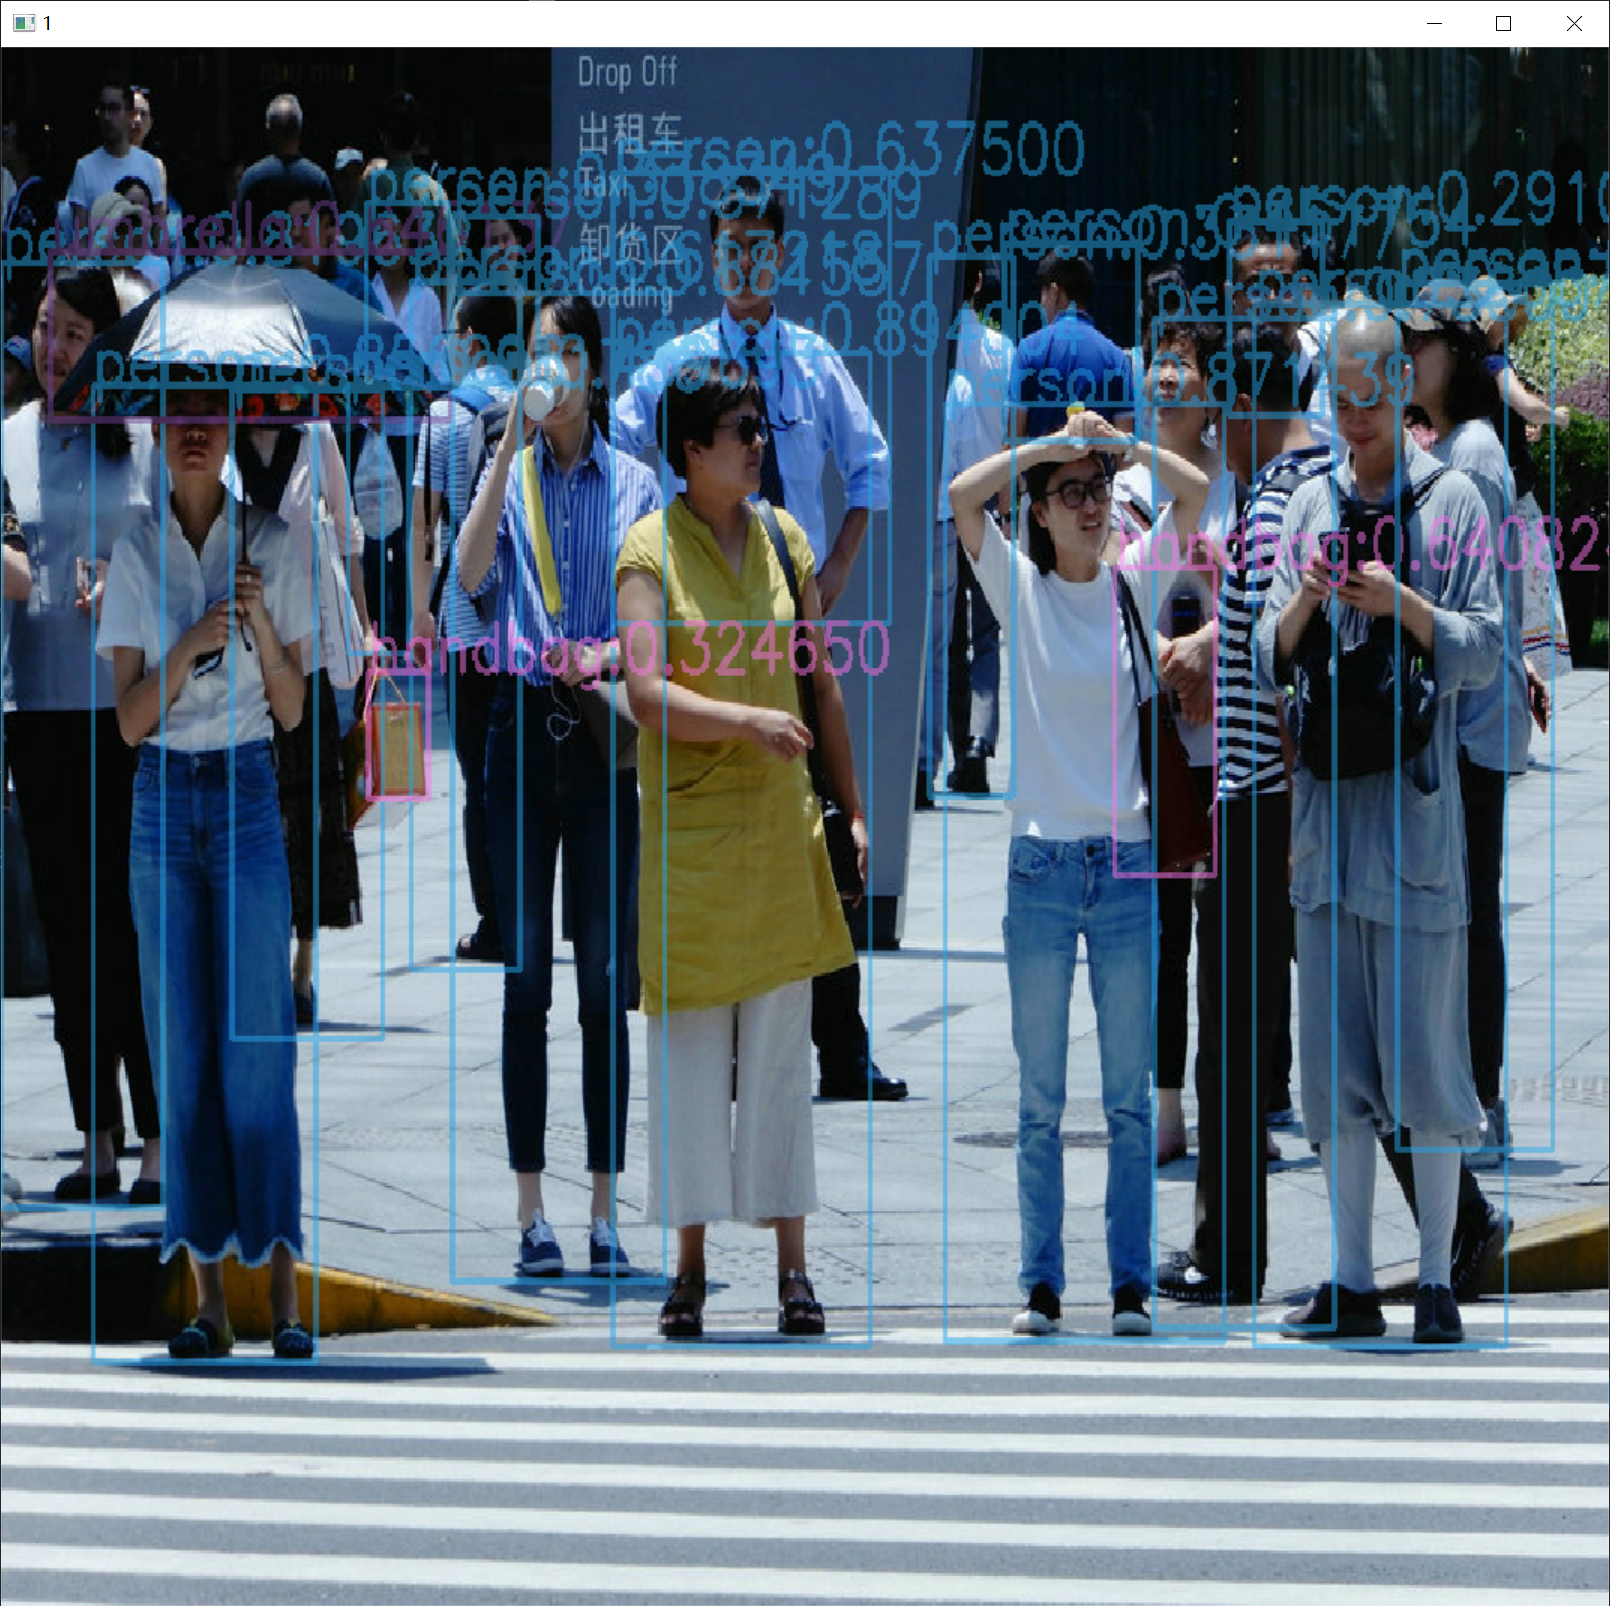
识别结果:

2.语义分割
#include "YoloV8Seg.h"
bool YoloV8Seg::segmentation(cv::Mat& cv_src, std::vector<OutputSeg>& output)
{
cv::Mat blob;
output.clear();
int col = cv_src.cols;
int row = cv_src.rows;
cv::Mat netInputImg;
cv::Vec4d params;
LetterBox(cv_src, netInputImg, params, cv::Size(_net_width, _net_height));
cv::dnn::blobFromImage(netInputImg, blob, 1 / 255.0, cv::Size(_net_width, _net_height), cv::Scalar(0, 0, 0), true, false);
_net.setInput(blob);
std::vector<cv::Mat> net_output_img;
std::vector<std::string> output_layer_names{ "output0","output1" };
_net.forward(net_output_img, output_layer_names); //get outputs
std::vector<int> class_ids;// res-class_id
std::vector<float> confidences;// res-conf
std::vector<cv::Rect> boxes;// res-box
std::vector<std::vector<float>> picked_proposals;
cv::Mat output0 = cv::Mat(cv::Size(net_output_img[0].size[2], net_output_img[0].size[1]), CV_32F, (float*)net_output_img[0].data).t();
int rows = output0.rows;
int net_width = output0.cols;
float* pdata = (float*)output0.data;
for (int r = 0; r < rows; ++r)
{
cv::Mat scores(1, _class_name.size(), CV_32FC1, pdata + 4);
cv::Point class_id_point;
double max_class_socre;
minMaxLoc(scores, 0, &max_class_socre, 0, &class_id_point);
max_class_socre = (float)max_class_socre;
if (max_class_socre >= _classThreshold)
{
std::vector<float> temp_proto(pdata + 4 + _class_name.size(), pdata + net_width);
picked_proposals.push_back(temp_proto);
//rect [x,y,w,h]
float x = (pdata[0] - params[2]) / params[0];
float y = (pdata[1] - params[3]) / params[1];
float w = pdata[2] / params[0];
float h = pdata[3] / params[1];
int left = MAX(int(x - 0.5 * w + 0.5), 0);
int top = MAX(int(y - 0.5 * h + 0.5), 0);
class_ids.push_back(class_id_point.x);
confidences.push_back(max_class_socre);
boxes.push_back(cv::Rect(left, top, int(w + 0.5), int(h + 0.5)));
}
pdata += net_width;//next line
}
//NMS
std::vector<int> nms_result;
cv::dnn::NMSBoxes(boxes, confidences, _classThreshold, _nmsThreshold, nms_result);
std::vector<std::vector<float>> temp_mask_proposals;
cv::Rect holeImgRect(0, 0, cv_src.cols, cv_src.rows);
for (int i = 0; i < nms_result.size(); ++i) {
int idx = nms_result[i];
OutputSeg result;
result.id = class_ids[idx];
result.confidence = confidences[idx];
result.box = boxes[idx] & holeImgRect;
temp_mask_proposals.push_back(picked_proposals[idx]);
output.push_back(result);
}
MaskParams mask_params;
mask_params.params = params;
mask_params.srcImgShape = cv_src.size();
mask_params.netHeight = _net_height;
mask_params.netWidth = _net_width;
mask_params.maskThreshold = _maskThreshold;
for (int i = 0; i < temp_mask_proposals.size(); ++i) {
GetMask2(cv::Mat(temp_mask_proposals[i]).t(), net_output_img[1], output[i], mask_params);
}
if (output.size())
return true;
else
return false;
}
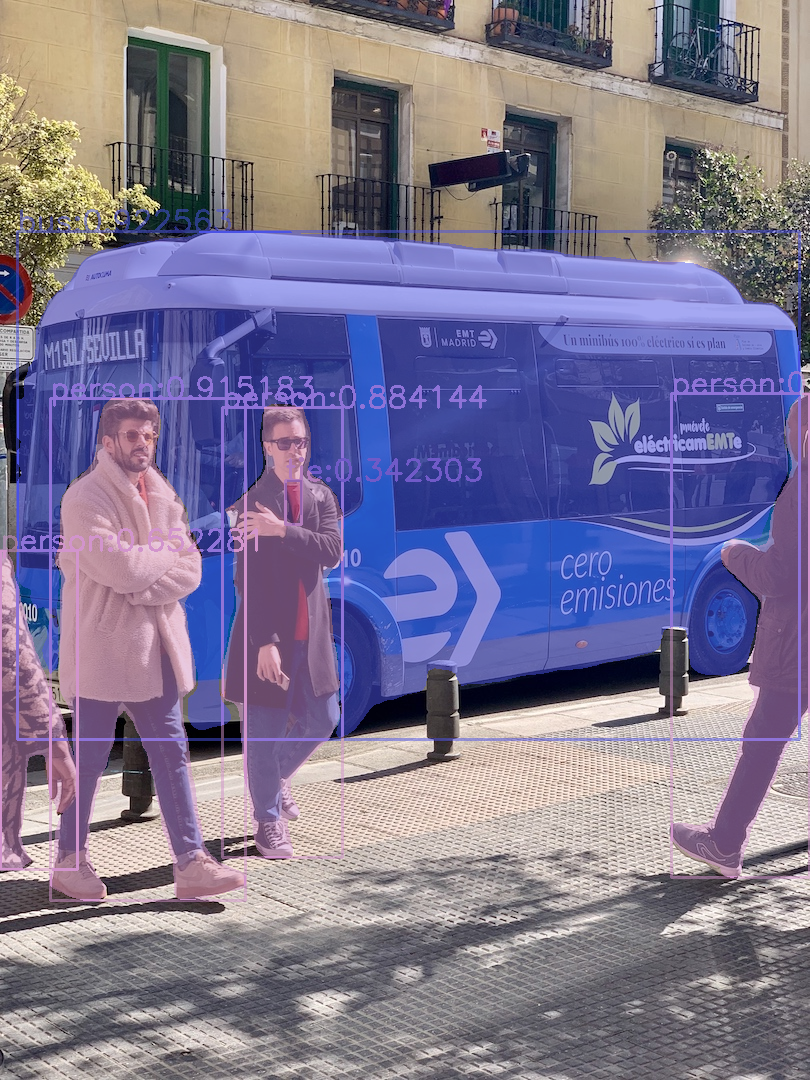
推理结果:

报错
ONNX file: yolov8n.onnx in function ‘cv::dnn::dnn4_v20221220::ONNXImporter::ONNXImporter‘,报这个错是模型转换的问题或者是opencv版本的问题。


