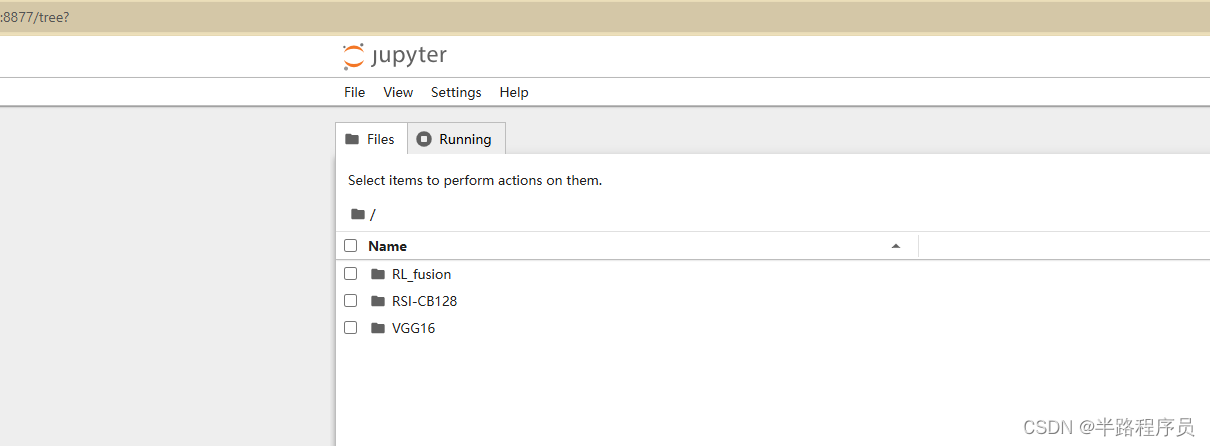
Jupyter Notebook远程连接服务器
参考连接:
使用Jupyter Notebook远程连接服务器_jupyter notebook 连接 ray-CSDN博客
Jupyter Notebook 7.0 更新远程访问配置_no module named ‘notebook.auth-CSDN博客
激活conda环境
conda activate abc #激活虚拟环境安装jupyter
pip install jupyter #安装可能会多次失败,请多次尝试。
生成配置文件
jupyter notebook --generate-config #生成配置文件进入python环境
~$ python
Python 3.8.10 (default, Jun  4 2021, 15:09:15)
[GCC 7.5.0] :: Anaconda, Inc. on linux
Type "help", "copyright", "credits" or "license" for more information.
执行下面代码
from jupyter_server.auth import passwd;
passwd(algorithm='sha1')
输入密码,然后复制生成的sha1密码。
修改默认配置文件
vim ~/.jupyter/jupyter_notebook_config.py
添加如下配置
c.ServerApp.ip = "0.0.0.0"
c.ServerApp.password = 'sha1xxxxxxxxxxxxxxxxxxxxxxxxxxxxxxxxxxxx'
c.ServerApp.open_browser = False
c.ServerApp.port = 8877
c.ServerApp.allow_remote_access = True
c.ServerApp.notebook_dir = '/home/user/xxxxx' #设置根目录,限制访问
运行
jupyter notebook
在本地主机上打开浏览器,地址栏输入
服务器IP:端口号
10.10.10.10:8877
最后输入密码即可登陆成功。


