主备工作
下载插件
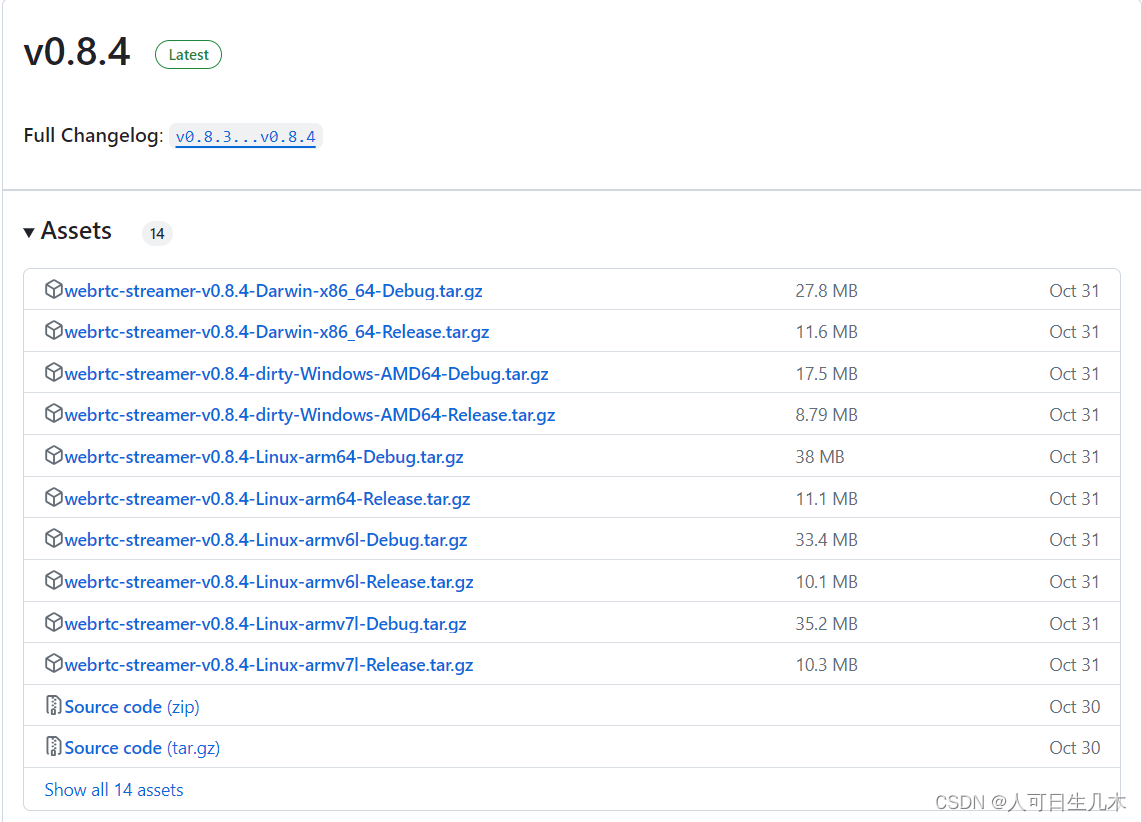
这里以webrtc-streamer v0.8.4为例子
下载对应系统的包,我这里下载的是Windows-AMD64-Release(可能比较忙,耐心等待或者其他方法)
下载完成后,解压,打开解压后的文件夹如下
插图")
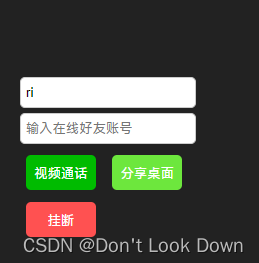
检查视频流
运行webrtc-streamer.exe,默认打开8000端口,然后浏览器访问127.0.0.1:8000就可以看到本地监控了,我们测试一下视频流,只需要在后面加上/webrtcstreamer.html?video=rtsp://xxx:xxx@xxxxxx:xxxx看下监控画面能否出来,如果出不来,请检查视频流的格式是否为h265格式
如何查看视频流格式
安装VLC media player软件,打开后,按ctrl+n将视频流地址复制进去后,点击播放,视频出来后按ctrl+j就可以看到编解码器了,如果是H265格式,请改成H264即可
返回127.0.0.1:8000/webrtcstreamer.html?video=rtsp://xxx:xxx@xxxxxx:xxxx,刷新就出来了
插图(1)")
至此准备完毕
打开刚刚解压的文件,找到html/webrtcstreamer.js、html/libs/adapter.min.js两个文件,并复制到项目文件夹的public文件夹内,在index.html内引入这两个js
  <script src="/adapter.min.js"></script>
  <script src="/webrtcstreamer.js"></script>
开始编码
新增组件 rtspVideo
<template>
  <video id="rtspVideo" muted playsinline controls width="844" height="457"></video>
</template>

<script setup>
const props = defineProps({
  rtspVideo: {
    type: String,
    required: true,
    default: ''
  }
})
const webRtcServer = ref();
const initWebRtcServer = async () => {
	// import.meta.env.VITE_APP_PORT 是之前运行的exe文件的端口号,默认8000,请自行修改
  let url = location.protocol + '//' + location.hostname + ':'+ import.meta.env.VITE_APP_PORT
  nextTick(() => {
    webRtcServer.value = new WebRtcStreamer('rtspVideo', url);
    // 这里需要注意 connect有4个参数,我这边直接改了webrtcstreamer.js中的connect方法
    // 将第三个参数设置默认值"rtptransport=tcp&timeout=60",其他不用管
    webRtcServer.value.connect(props.rtspVideo)
  })
}

//页面销毁时销毁webRtc
onUnmounted(() => {
  webRtcServer.value.disconnect()
  webRtcServer.value = null
})
initWebRtcServer();
</script>

<style scoped>
#rtspVideo {
  width: 100%;
  height: 100%;
  background-color: #262626;
}
</style>
webrtcstreamer.js connect方法修改
由原来
WebRtcStreamer.prototype.connect = function(videourl, audiourl, options, localstream, prefmime)
改成
WebRtcStreamer.prototype.connect = function(videourl, audiourl, options = "rtptransport=tcp&timeout=60", localstream, prefmime)
使用组件 rtspVideo
// rtspVideo为视频流地址 rtsp://xxx:xxx@xxxxxx:xxxx
<myVideoPlay :rtspVideo="rtspVideo" />
至此大功告成
插图(2)")